The Basics of R and RStudio
Learning Objectives
- Create an R project.
- Describe the purpose of RStudio’s script, console, environment, and file/plot/help windows.
- Assign names to objects in R with <- and =.
- Solve mathematical operations in R.
- Organize files and directories for a set of analyses as an R Project.
R and RStudio are distinct programs and need separate downloads and installations.
R is: An open-source programming language under GPL - Aimed as a statistics and data analysis environment - Adapted to build websites, run simulations, and more - Good general language as it is both object-orientated and functional language
R is the underlying statistical computing environment, but while you can use R without RStudio, using R alone is not as intuitive
RStudio is: A graphical Integrated Development Environment (IDE) that makes using R much easier and more interactive - Makes developing code in R easier
Note: There are popular alternatives to RStudio such as Visual Studio Code (VS Code)
Installation
You need to install R before you install RStudio. Please choose the operating system (OS) that you use from the key information tab.
Open up a new Project
- Under the File menu, click on New project, choose New directory, then Empty project
- Enter a name for this new folder, and choose a convenient location for it. This will be your working directory for the rest of the day (e.g., ~/Intro_to_R)
- Confirm that the folder named in the Create project as a sub-directory of the box is where you want the working directory created. Use the Browse button to navigate folders if changes are needed.
- Click on “Create project”
- Under the Files tab on the right of the screen, click on New Folder and create a folder named data within your newly created working directory. (e.g., ~/Intro_to_R/data)
- Create a new R script (
File > New File > R script) and save it in your working directory (e.g. Intro_to_R_day1.R) - We can open it by clicking the New File button or using the
Ctrl-Shift-Nkeyboard shortcut (Cmd-Shift-N) on Mac
Interacting with R via RStudio
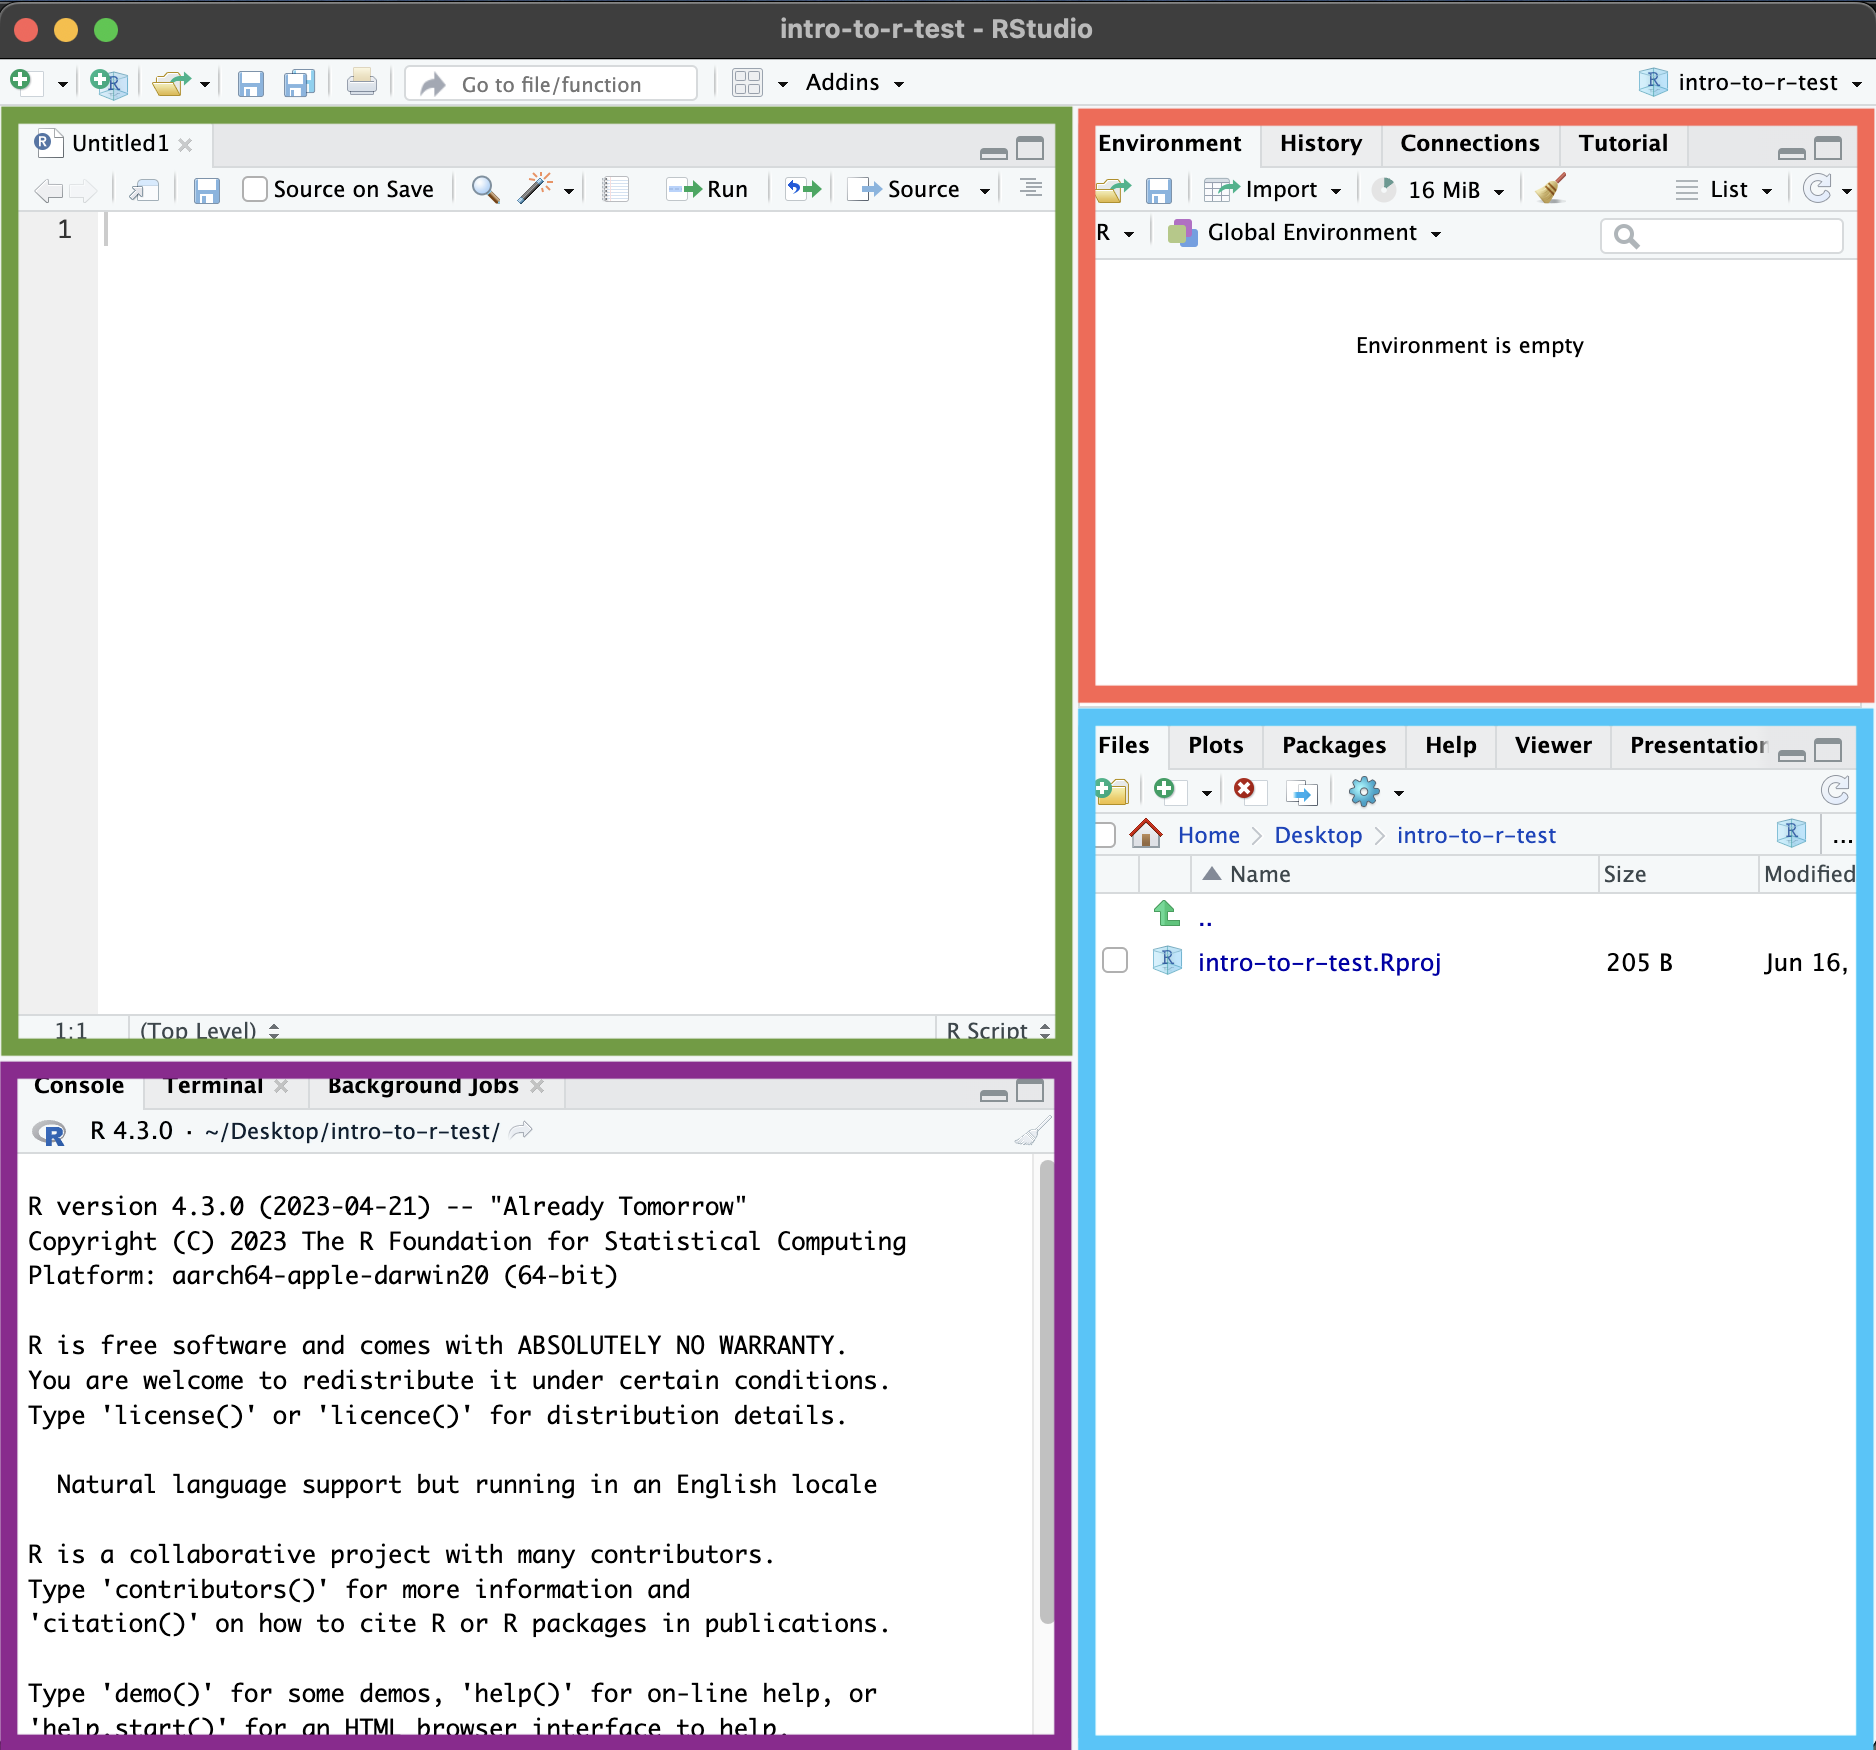 Parts of the RStudio
1. Folder setup, Plots, Packages, Help, and more
- If you haven’t already, save the Rscript that we have just created. Please select
File --> Saveand enter in a suitable name for your Rscript. - You should see this is now available in the folder.
- The following sections will explore the other tabs in this corner.
2. Interpreter/Console (this is where R is actually running)
-
Work in here interactively.
-
>indicates that R is ready to accept commands. -
Let’s first try and run our first line of code into our console. I will explain more about this in a bit.
"Hello" -
Type commands directly into the console, but they will be forgotten when you close the session.
-
Let’s write some code that is incomplete:
"Hello -
+indicates that R is waiting for you to finish entering a command. This is usually due to not writing the pair of brackets or quotations.
3. Environment, History, Git, and more
- Every time we load data, make a variable or run a function that produces an output, we are adding to what is present in our R session. Everything present in your R session is your environment (We will demonstrate this shortly)
- You can run into memory issues if you keep on adding to your environment. You can remove everything using the broom icon or delete individual items by assigning them a value of NULL (shown below)
- The history tab shows the commands that you have run
4. Text editor
-
Where we write code we want to keep and potentially reuse later
-
Creates a text file that stores the code that we have written in .R format
-
Let’s write the same line of code,
Hello, as before but this time in the text editor. -
You can copy-paste into the R console, but the RStudio script editor allows you to ‘send’ the current line or the currently selected text to the R console using the
Ctrl-Entershortcut. -
Better to enter the commands in the script editor and save the script. This way, you have a complete record of what you did, you can easily show others how you did it, and you can do it again later on if needed.
-
Comments in your code are critical for explaining what the code does and why you are doing it (future you and future collaborators will shower you with praise). A comment is indicated by the
#symbol. This signifies to the R interpreter that the text following the # on that line is information about the code rather than code to be run. -
Let’s use the print function to demonstrate how the RStudio text editor helps you:
# A demonstration of the print function print("Hello") print("Everyone") # I can put a comment here too but the start of the line is better -
Take note that print and Hello are different colours in the text editor but not in the console. What happens to the colour if you remove the quotation mark at the end of “Hello”? What about removing the bracket after “Hello”? What happens if you put a # before print() on both lines?
Making variables
-
You can either assign a value using
<-or=. -
However, it is good practice to use
<-for assignments and=for values of arguments in a function.name1 <- "Jane Doe" name2 = "John Doe" -
You should now be able to see the names in the environment tab. Some details about your new variable should be beside the names.
-
We can combine the two names together into a vector using the c() function:
names_example <- c(name1, name2) -
What can you see in the environment tab panel now?
Mathematical uses of R
-
You can use R like a sophisticated calculator. Run the commands below. Use * for multiplying and / for divide:
3 + 5 12/3 -
But if you want to be able to access a value later, we need to assign values to objects:
# Assign 9 to a
a <- 9
# Assign 2 to b
b <- 2
Exercise
- How much are a and b added together?
- Change the value of a to 10
- Assign the value of a and b together to a new variable, c. Are there any issues with making a new variable called c?
Material adapted from (https://datacarpentry.org/R-genomics/01-intro-to-R.html) and (https://datacarpentry.org/semester-biology/materials/r-intro/) by Helen King. Further revisions by the Data Science Platform